Flooring Waste Margin Guide: Straight vs Herringbone
Flooring Waste Margin Guide: Straight vs Herringbone
When installing laminate planks, engineered hardwood, luxury vinyl tiles, or porcelain flooring, you will inevitably have to cut pieces to fit along walls, corners, around vents, doors, and columns. Because the cut-off pieces cannot always be reused, some material is discarded. To avoid running out of material mid-project, you must add a waste margin (also known as a safety offset or contingency factor) to your room's net floor area.
Failing to calculate this margin accurately is one of the most common mistakes in DIY and professional remodeling projects. In this comprehensive guide, we discuss why a waste margin is essential, how layout directions affect material requirements, and how to calculate the exact number of boxes you need to order.
⚠️ Why is a Waste Margin Essential?
Many homeowners make the mistake of measuring their room, calculating a net area of 200 square feet, and ordering exactly 200 square feet of flooring. This approach almost always leads to a shortage. Running out of planks or tiles near the end of installation can cause significant problems:
- Project Delays: Work stops immediately while you wait for a new shipment. This can delay subsequent trades, such as baseboard installation, painting, or cabinet fitting.
- Dye Lot and Batch Variations: Manufacturers produce flooring in batches. Ceramic tiles and wood planks from different production runs (dye lots) often show slight variations in shade, texture, or gloss level. If you order more material weeks later, you risk buying a box that does not perfectly match your installed floor.
- Shipping Fees: Ordering a single box of flooring can incur shipping costs that exceed the price of the material itself. Many distributors also enforce minimum order requirements.
- Accidents and Miscuts: Even experienced installers make mistakes. A plank can split during cutting, or a tile might crack along the wrong line when using a snap cutter. Having extra pieces gives you a safety cushion.

📋 Recommended Waste Margin for Laminate and Wood Flooring
The layout direction you select determines the percentage of material that will be wasted during installation.
1. Straight Layout (Parallel to Walls)
In a straight layout, planks are installed parallel to the longest wall or perpendicular to the primary light source to minimize the appearance of joints. Because most cuts are made straight at the ends of rows, waste is kept to a minimum.
- Simple Rectangular Room: Add a 5% to 7% waste margin. If the room is perfectly square and has no obstacles, 5% is usually sufficient.
- Irregular Room (with alcoves, pillars, closets, or bay windows): Add a 8% to 10% waste margin. Every obstacle requires custom cuts, which increases the amount of scrap material.
2. Diagonal Layout
Planks are installed at a 45-degree angle to the walls. This creates a sense of space and movement, but it requires cutting the ends of almost every border plank at an angle.
- Recommended safety margin: Add a 10% to 12% waste margin.
3. Herringbone or Chevron Patterns
Herringbone layouts involve placing rectangular planks in a V-shaped pattern. This classic layout requires a high number of cuts at the borders, as every perimeter plank must be cut at a precise angle to meet the wall.
- Recommended safety margin: Add a 12% to 15% waste margin. If you are a beginner attempting a DIY herringbone install, we recommend budgeting a full 15% margin to account for learning-curve mistakes.
🧱 Recommended Waste Margin for Ceramic and Porcelain Tiles
Tiling generally generates more waste than wood or vinyl flooring because tiles are brittle and prone to cracking during cuts. In addition, tile layouts are highly dependent on joint alignment.
Below is the standard waste margin reference table for tiling projects in 2026:
| Tile Size and Pattern | Recommended Waste Margin | Primary Reasons for Waste |
|---|---|---|
| Straight Pattern (Standard sizes: 12"x24", 24"x24") | 10% | Standard cuts at walls, occasional cracking during cutting. |
| Diagonal / Harlequin Pattern | 15% | Extensive 45-degree angular cuts at all room borders. |
| Large-Format Tiles (24"x48" or larger) | 12% to 15% | High risk: cracking a single tile ruins a massive surface area. |
| Mosaic or Small Tiles | 8% to 10% | Individual sheets can be cut along mesh backing, resulting in less scrap. |
| Herringbone Tile Pattern | 15% | High frequency of complex end-cuts and corner adjustments. |

📐 How to Calculate the Number of Boxes Needed: Step-by-Step
Flooring products are sold in boxes containing a fixed square footage or square meter capacity. To determine how many boxes to purchase, follow this five-step mathematical process:
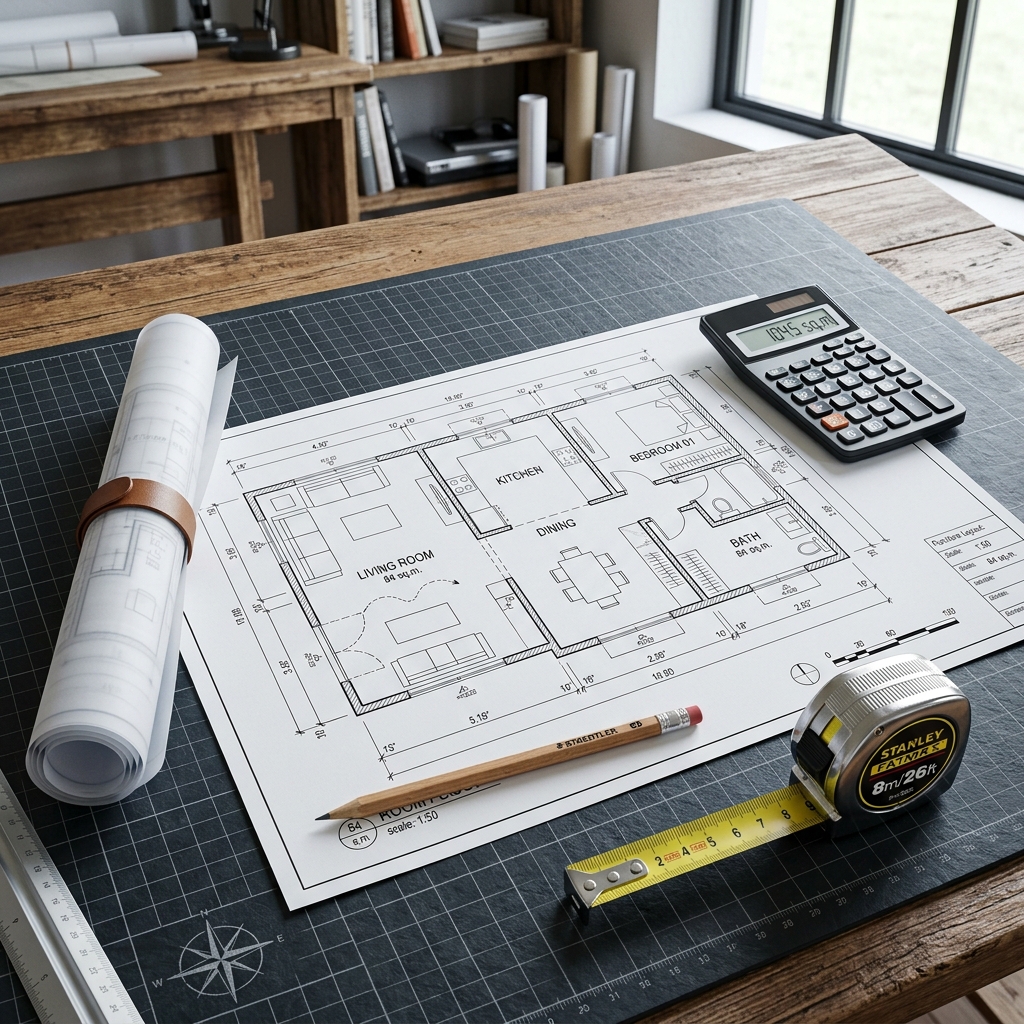
Step 1: Measure and Calculate Net Floor Area
Divide your room into basic geometric shapes (rectangles). Measure the length and width of each section, multiply them, and add them together. $$\text{Net Area} = \text{Length} \times \text{Width}$$ Example: A room measuring 15 feet by 14 feet has a net area of: $$15 \times 14 = 210\text{ sq ft}$$
Step 2: Determine Your Waste Margin Factor
Choose your layout and assess your room's complexity. Let's assume you choose a diagonal porcelain tile layout, which requires a 15% waste margin. $$\text{Waste Factor} = 1 + \left(\frac{\text{Waste Margin Percent}}{100}\right)$$ $$\text{Waste Factor} = 1 + 0.15 = 1.15$$
Step 3: Calculate Total Required Area
Multiply the net area by your waste factor. $$\text{Total Required Area} = \text{Net Area} \times \text{Waste Factor}$$ $$210\text{ sq ft} \times 1.15 = 241.5\text{ sq ft}$$
Step 4: Divide by Box Coverage
Check the packaging of your selected flooring to find the coverage area per box. Assume each box of your chosen tile covers 22 square feet. $$\text{Raw Box Count} = \frac{\text{Total Required Area}}{\text{Box Coverage}}$$ $$\text{Raw Box Count} = \frac{241.5}{22} = 10.98\text{ boxes}$$
Step 5: Round Up to the Next Whole Box
You cannot buy a fraction of a box, so you must round up to the nearest whole integer. $$\text{Boxes to Purchase} = \text{ceil}(10.98) = 11\text{ boxes}$$
In this scenario, you should purchase 11 boxes of tile. This provides you with exactly 242 square feet of material, giving you a safe buffer.
💡 Expert Tips for Minimizing Flooring Waste
If you want to keep waste closer to the lower end of our recommended ranges, apply these professional practices:
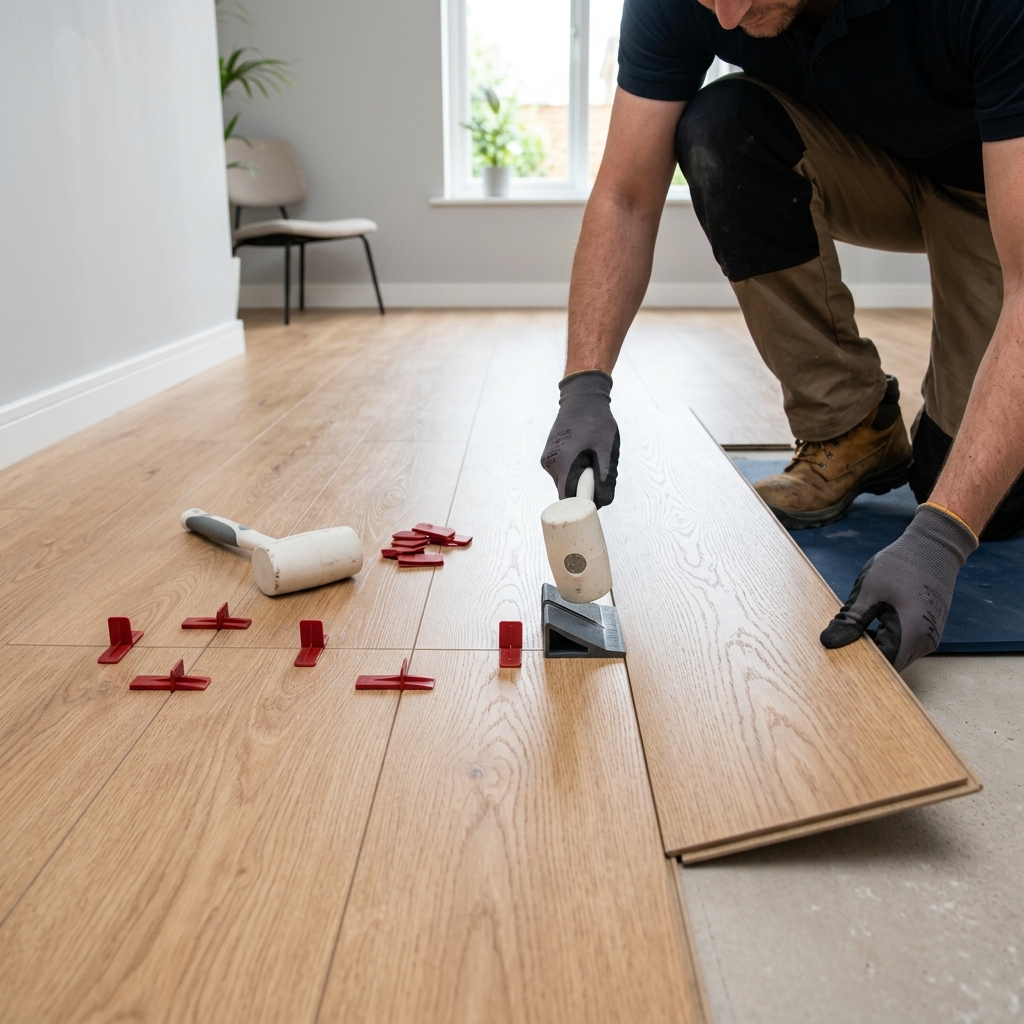
- Plan the Joint Stagger: For laminate and wood planks, ensure the end joints of adjacent rows are staggered by at least 8 to 12 inches (20 to 30 cm). This distribution creates a strong structure and allows you to use the cut-off end of one row as the starter piece for the next row, significantly reducing waste.
- Dry Lay Your Materials: Before applying mortar or clicking planks together, lay out a few rows across the room. This helps you see how the pattern ends at the walls and allows you to shift the layout slightly to avoid thin, difficult-to-cut border strips.
- Use the Right Tools: Using a dull tile blade or an incorrect saw blade for laminate can cause chipping and cracking. Invest in a high-quality diamond blade for wet tile saws and clean-cutting laminate blades.
- Store Leftovers Safely: Once installation is complete, do not discard your extra planks or tiles. Store at least one full box in a dry area. If you experience a plumbing leak or structural damage years down the road, you will have matching replacement pieces from the original dye lot ready to install.
❓ Frequently Asked Questions (FAQ)
What should I do if my room has stairs?
Stairs require a high amount of custom cuts and profile work. We recommend budgeting a 15% to 20% waste margin for the material installed on stair treads and risers.
Can I return unopened boxes of flooring?
Many home improvement retailers and local distributors accept returns on unopened, clean boxes within 30 to 90 days. However, be sure to check for restocking fees, which can range from 10% to 25%. Additionally, make sure to keep a small amount of extra material in storage for future repairs.
How does room temperature affect wood flooring installation?
Solid wood and engineered wood flooring are natural materials that expand and contract with humidity and temperature changes. You must let the boxes sit in the room for at least 48 to 72 hours before installation so the wood can adjust to the room's climate. Failing to do so can cause the joints to buckle or separate later.
Should I change my waste margin for vinyl plank flooring (LVP)?
Luxury Vinyl Plank (LVP) is highly durable and easy to cut with a simple utility knife. Because LVP is flexible and does not break easily during installation, you can safely stick to a 5% to 8% waste margin for straight layouts.